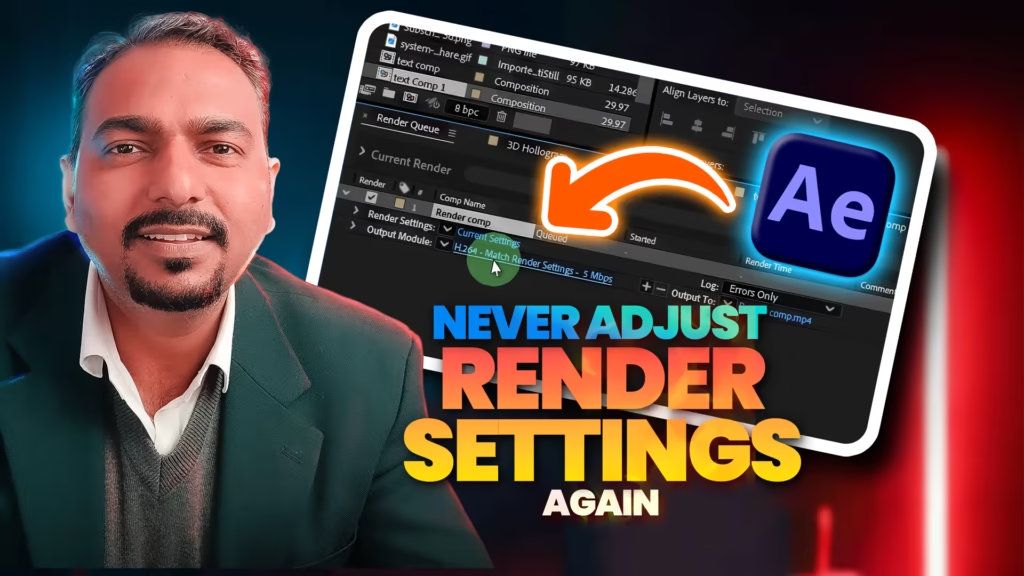
Streamline Your After Effects Workflow: Never Adjust Render Settings Again
Are you tired of manually tweaking render settings every time you export a video in Adobe After Effects? If so, you’re not alone—many video editors waste precious time adjusting resolution, frame rate, and output settings for every project. But what if there was a way to set your preferences once and never touch them again? In this blog post, we’ll dive into how to change the default render settings in After Effects, saving you time and boosting your workflow efficiency. Plus, I’ll share the details of my latest YouTube tutorial, including the perfect title, description, and SEO strategies to make it stand out.
Why Change Default Render Settings in After Effects?
After Effects is a powerhouse for motion graphics and visual effects, but its default render settings might not always match your needs. Whether you’re exporting for YouTube, client projects, or personal archives, customizing your default settings ensures consistency and eliminates repetitive tasks. By creating a render settings template and setting it as the default, you can streamline your process and focus on what matters: creating stunning visuals.
In my latest YouTube tutorial, I’ll walk you through this process step-by-step. Here’s everything you need to know about the video and how it’s optimized to reach creators like you.
YouTube Video Details
Watch Video Tutorial: “After Effects Trick: Never Adjust Render Settings Again”
Optimize Your Workflow with Custom Settings
Tired of adjusting render settings every time you export a video from After Effects? In this tutorial, I’ll show you how to change the default render settings in After Effects to save time and streamline your workflow. Learn how to create and set your own default render settings template, so your video exports are always configured the way you want them, right out of the gate.
We’ll cover:
- Understanding render settings and output modules in After Effects
- How to create a new render settings template
- How to set your template as the default
- Tips for optimizing your render settings for different purposes
By the end of this video, you’ll be able to customize your After Effects render settings to fit your specific needs, making your video production workflow more efficient and consistent. Don’t forget to like and subscribe for more After Effects tutorials!
This description uses the primary keyword “change default render settings After Effects” to match search intent, while outlining the video’s value—saving time and improving consistency. It also includes a call-to-action to boost engagement, a key factor in YouTube’s algorithm.
Related Search Terms
These terms capture variations of how people might search for this tutorial:
- “change default render settings After Effects”
- “After Effects default render settings”
- “how to set default render settings in After Effects”
- “customizing After Effects render queue”
- “After Effects render settings template”
- “save time with After Effects render settings”
- “After Effects render settings tutorial”
- “changing render settings in After Effects”
- “After Effects: Changing default render settings”
- “tutorial on changing After Effects default render settings”
Hashtags
- #AfterEffects
- #RenderSettings
- #AEtips
- #VideoProduction
- #Tutorial
- #HowTo
- #Customization
- #WorkflowEfficiency
- #TimeSaver
- #AdobeAfterEffects
What You’ll Learn in the Tutorial
The video breaks down the process into clear steps:
- Understanding Render Settings and Output Modules: Learn what these terms mean and how they affect your exports.
- Creating a Template: Set up your ideal settings—resolution, codec, etc.—and save them as a template.
- Setting the Default: Make your template the go-to option for every render.
- Optimization Tips: Adjust settings for different scenarios, like YouTube uploads or high-quality archives.
By the end, you’ll have a custom workflow that saves you clicks and headaches. It’s a small change with a big impact, especially for frequent After Effects users.
The Unexpected Bonus
Here’s a surprising perk: optimizing for terms like “workflow efficiency” and “time-saver” might draw in editors using other software, too. This could spark cross-tool discussions and boost engagement, making the video a hub for productivity-focused creators.
Wrap-Up
Changing your default render settings in After Effects is a game-changer for efficiency, and my tutorial, “After Effects Trick: Never Adjust Render Settings Again,” is designed to make it easy and accessible. With a clickable title, a detailed description, and strategic search terms and hashtags, it’s primed to reach video editors like you. Check out the video, try the trick yourself, and let me know how it transforms your workflow in the comments!


